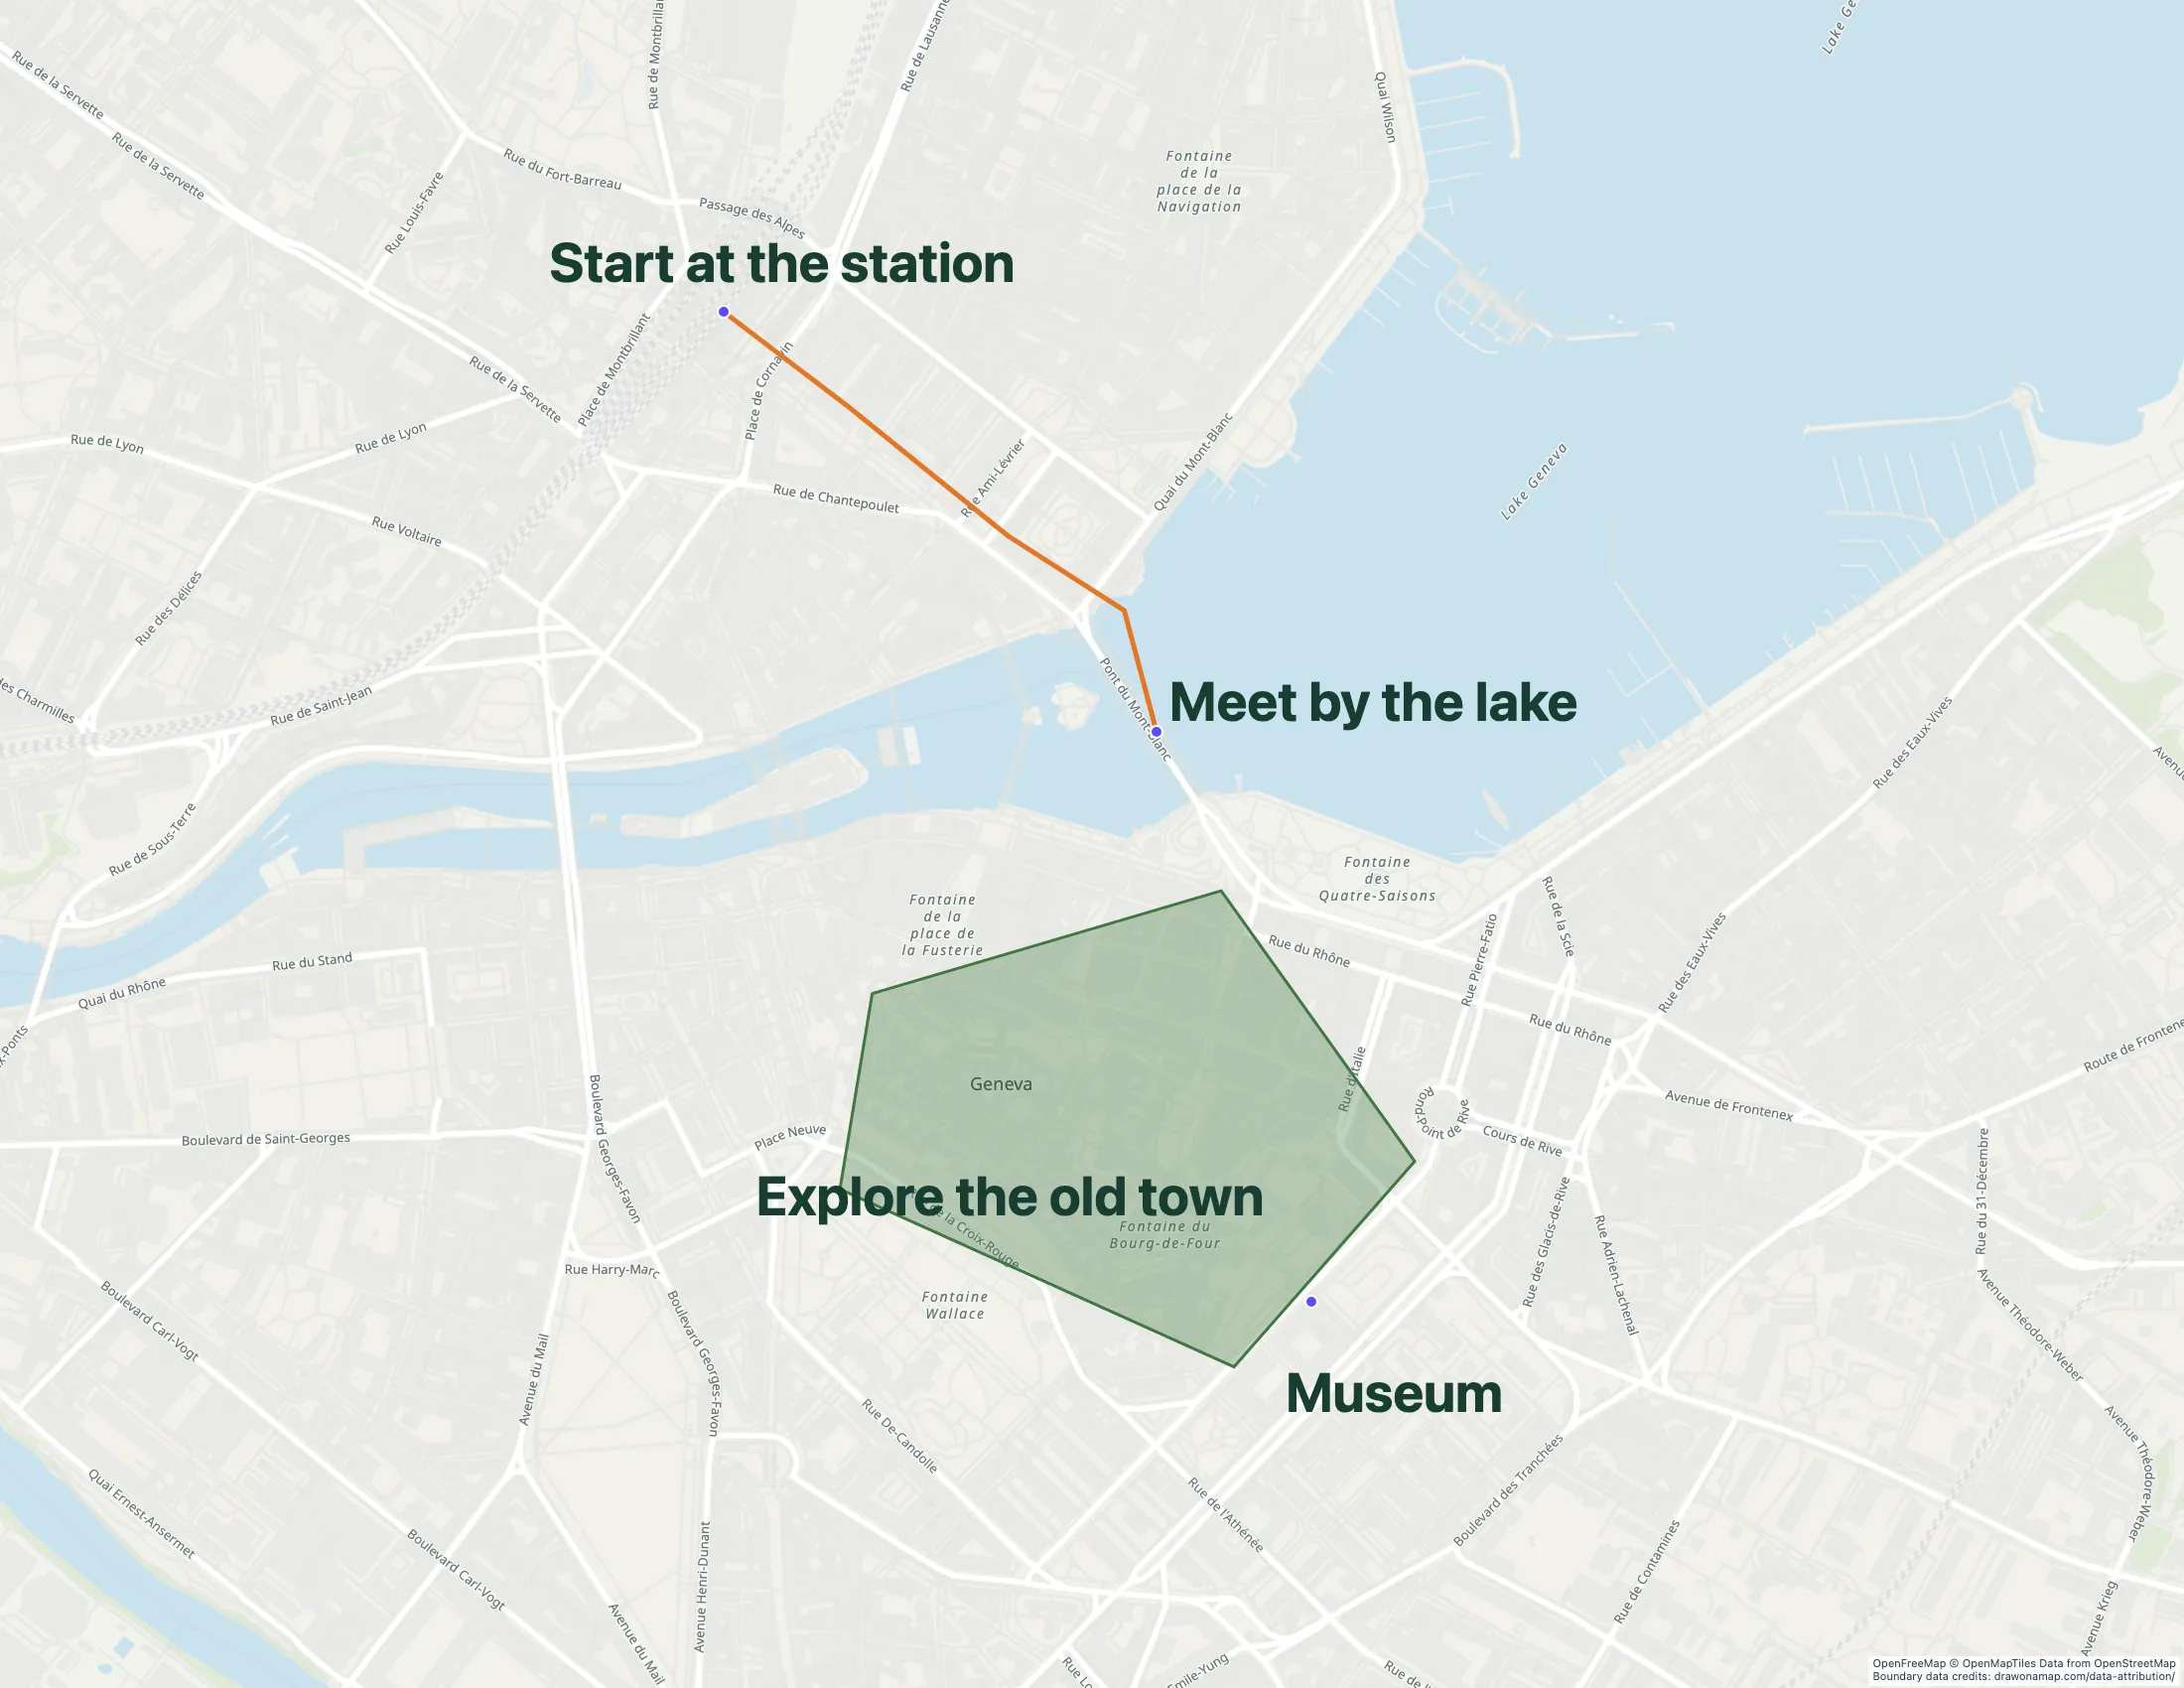
A Geneva walking route with annotations shows how lines and notes can explain places on a map.
Make the map you need.
01
Choose the lesson location
Find the place students will study. Use public landmarks for a local route assignment.
02
Make the question visible
Draw the route or area and add a note with the question students must answer.
03
Share it with the class
Send a standard map link for students to open. Inviting editors for real-time collaboration requires Pro.
What you can make
Use Draw on a Map to explain a route, mark an area, or add notes during a lesson. Core drawing and standard share links are free. For assignments built around Google Drive or GIS data, compare the options below.
Personal is free for non-business use without file uploads. Business use needs a paid plan; a trial is available.
Choose what your map needs
1. Draw on a MapOur product
Best for
Lesson maps with routes, areas, and notes
Cost
Free drawing and standard sharing. Image/PDF exports and some sharing features are paid.
Draw while you explain a place to the class, or prepare the map before the lesson. Start without an account and share a standard link for free. With Pro, you can invite students or other teachers to edit a saved map.
Check the fit: the assignment requires formal GIS analysis. PNG and PDF downloads are free with a watermark.
My Maps supports shared editing and Google Drive organization. Consider it when the assignment already uses a school Google workflow. Check which school accounts can create and edit maps.
Check the fit: the main task is freehand annotation or students must start without signing in.
Ask students to explain a route, compare areas, or identify places that support an argument. In Draw on a Map, lines, marked areas, and notes let them put that explanation on the map.
For a teacher-led demonstration, draw as you speak and share the result after class. For a group assignment, sign in, save the map, and invite editors to work on it together.
A first assignment with three landmarks
Choose three public landmarks near the school.
Mark the start and finish of a proposed route.
Add a note that explains one route choice.
Ask another student to explain the map without spoken help.
Revise the label or line that caused confusion.
Assess whether another student can follow the explanation. For a GIS assignment, use a supplied dataset and ask students to explain its source and limits.
Prepare the map for class
Before the lesson, open the map on a school device and network. Add one feature, share the map, and open the link in another session. For a group project, also check access for an invited editor.
Use public places or sample data. Keep student home addresses and personal details off public class maps, and follow the school’s rules for shared work.
Core drawing and standard share links are free. If you need an image or PDF for a worksheet, a free download includes a watermark. A paid option removes it.
Match the tool to the assignment
Use Draw on a Map when students need to communicate an idea with a route, area, or note. Compare a GIS workspace when the lesson requires geographic analysis. If the assignment depends on Google Drive, see Draw on a Map vs Google My Maps for account and sharing details.
Questions
Do all students need an account?
Students can use basic Draw on a Map drawing tools and standard share links without an account. Saving a map requires sign-in. Inviting editors for real-time collaboration requires Pro. Check school account rules before a shared assignment.
Can I print a map for a worksheet?
Draw on a Map exports PNG and PDF files. Free downloads have a watermark, and a paid option removes it. Core drawing and standard share links are free.
Which tool should I use for teaching GIS?
Choose a GIS workspace when students must inspect data attributes or perform geographic analysis. Felt is one option to assess against the course requirements and its education terms.